Tools required:
Axle tool
H 12 hex socket
3/8th and 1/2inch ratchet
12 and 10 mm socket
Pliers
Phillips screw driver
7/16th wrench
3/4th deep socket
Hammer
Place the motorcycle on a stand.
Unbolt the 10 mm bolts that hold on this side of the axle to the fork.


Unscrew the axle nut with the H12 hex socket.

Unscrew the fork bolts on the other side.

Remove the axle bolt with axle tool and remove wheel. If it is stuck use the 3/4th inch deep socket to slightly hammer it out.


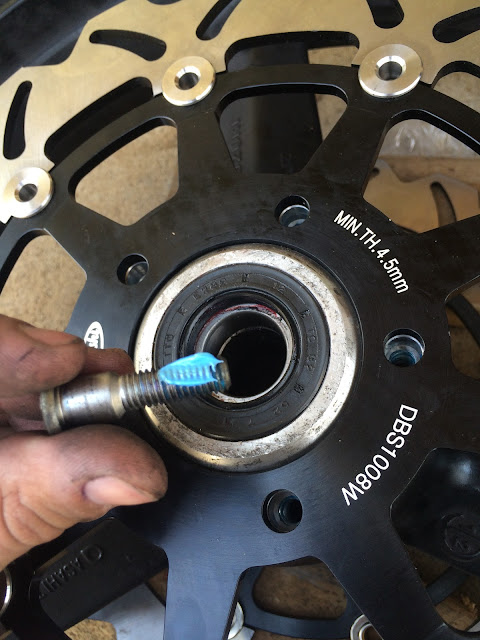
Unbolt stock rotor from wheel.

Bolt on new rotor.

Remove the two 12 mm bolts that hold the caliper in place and take off caliper from fork.


Unscrew the brake line and speed sensor plastic holder.


Remove speed sensor. TIP: just twist the speed sensor wire counter clockwise so it doesn't get tangled.

Remove the two pins that hold the brake pad pin in place.Remove brake pad pin.


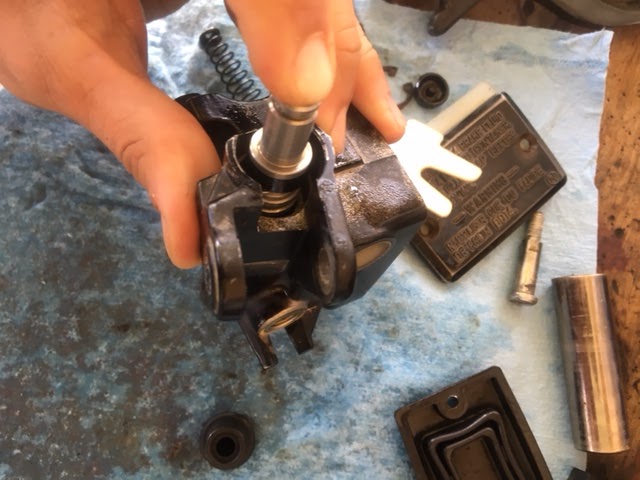
Remove the brake caliper bracket from the caliper. TIP: First remove the rubber sleeve then slide the stock bracket out. When re-installing the rubber sleeve onto the new bracket install the sleeve before you slide the new bracket back into place.


Remove the 7/16th bolt that holds the caliper bracket in place and install on new bracket.

Remove brake pad clip and install onto new bracket.

Reassemble in reverse order using locktite on all bolts. Warning the speed sensor will not work with new bracket so the speedometer will not work. These are the assembled pictures.


Axle tool
H 12 hex socket
3/8th and 1/2inch ratchet
12 and 10 mm socket
Pliers
Phillips screw driver
7/16th wrench
3/4th deep socket
Hammer
Place the motorcycle on a stand.
Unbolt the 10 mm bolts that hold on this side of the axle to the fork.


Unscrew the axle nut with the H12 hex socket.

Unscrew the fork bolts on the other side.

Remove the axle bolt with axle tool and remove wheel. If it is stuck use the 3/4th inch deep socket to slightly hammer it out.


Unbolt stock rotor from wheel.

Bolt on new rotor.

Remove the two 12 mm bolts that hold the caliper in place and take off caliper from fork.


Unscrew the brake line and speed sensor plastic holder.


Remove speed sensor. TIP: just twist the speed sensor wire counter clockwise so it doesn't get tangled.

Remove the two pins that hold the brake pad pin in place.Remove brake pad pin.


Remove the brake caliper bracket from the caliper. TIP: First remove the rubber sleeve then slide the stock bracket out. When re-installing the rubber sleeve onto the new bracket install the sleeve before you slide the new bracket back into place.


Remove the 7/16th bolt that holds the caliper bracket in place and install on new bracket.

Remove brake pad clip and install onto new bracket.

Reassemble in reverse order using locktite on all bolts. Warning the speed sensor will not work with new bracket so the speedometer will not work. These are the assembled pictures.